Prerequisite
- A processor with multiple cores
- Enable the virtualization option in the BIOS
- AMD, the setting is something called SVM (i have it under Advanced CPU Core Settings on my bios
- Intel, the setting should be called Intel Virtualization Tech (Intel VT)
Windows ISO
Hsuki Preconfigured VM
I have configured various Virtual Machines with many tools preinstalled.
- Dos, Windows 98, Windows XP, Windows 7, Windows 10
- HSuki Virtual Machines Download links
VirtualBox
Prerequisite
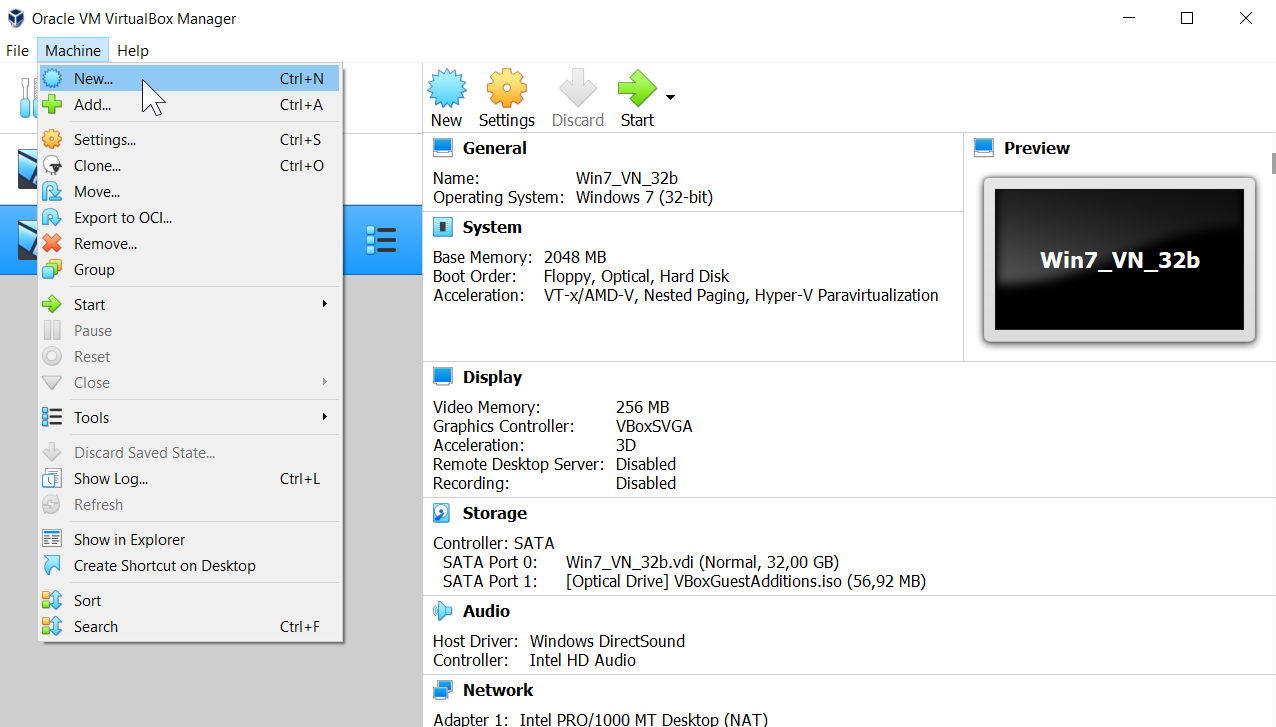
- Click on Machine > New
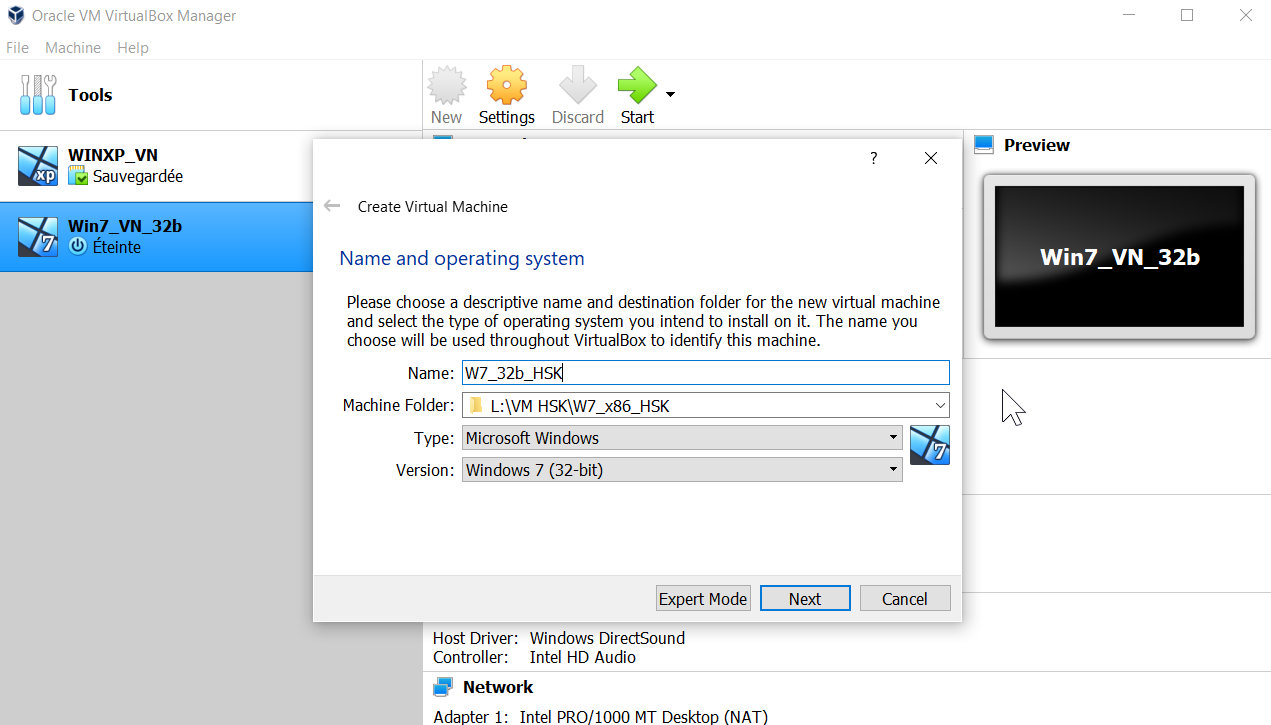
- Select the OS you want to install (select from the list) and the folder where the VM will be located
- Choose the RAM that will be used, you can change this setting later
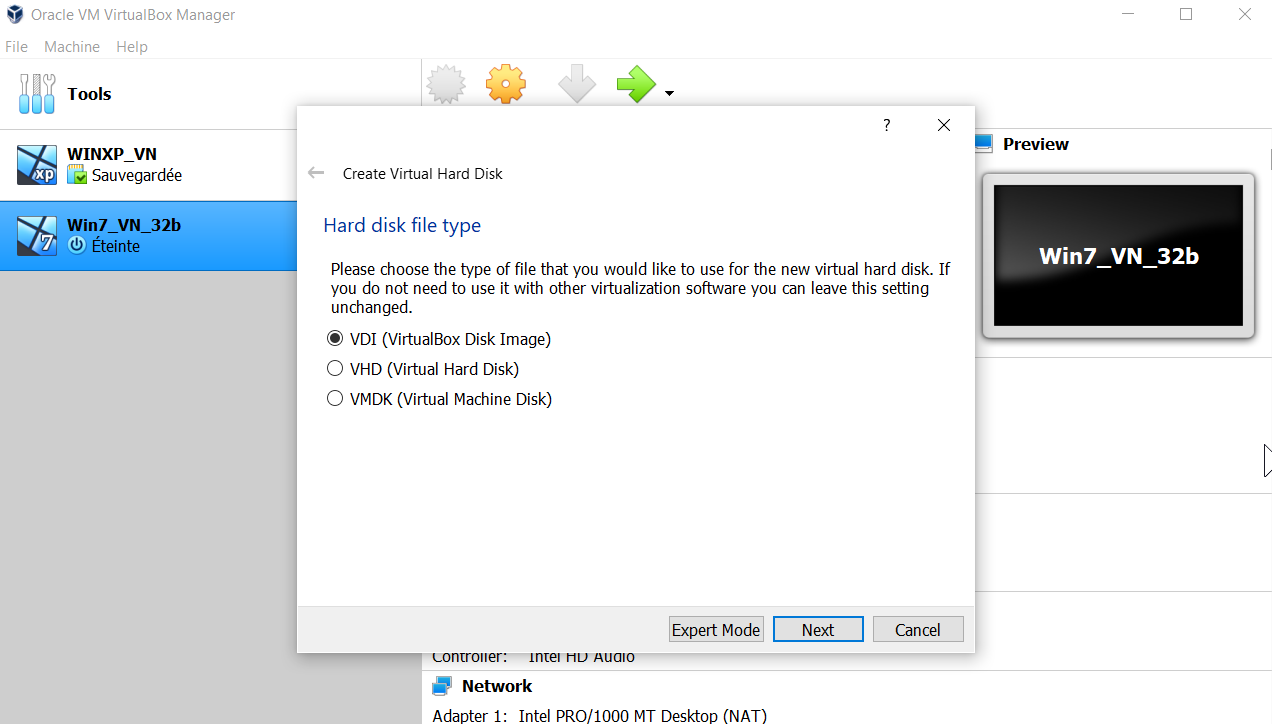
- Choose the type of drive image, if you plan to use only VirtualBox, select VDI
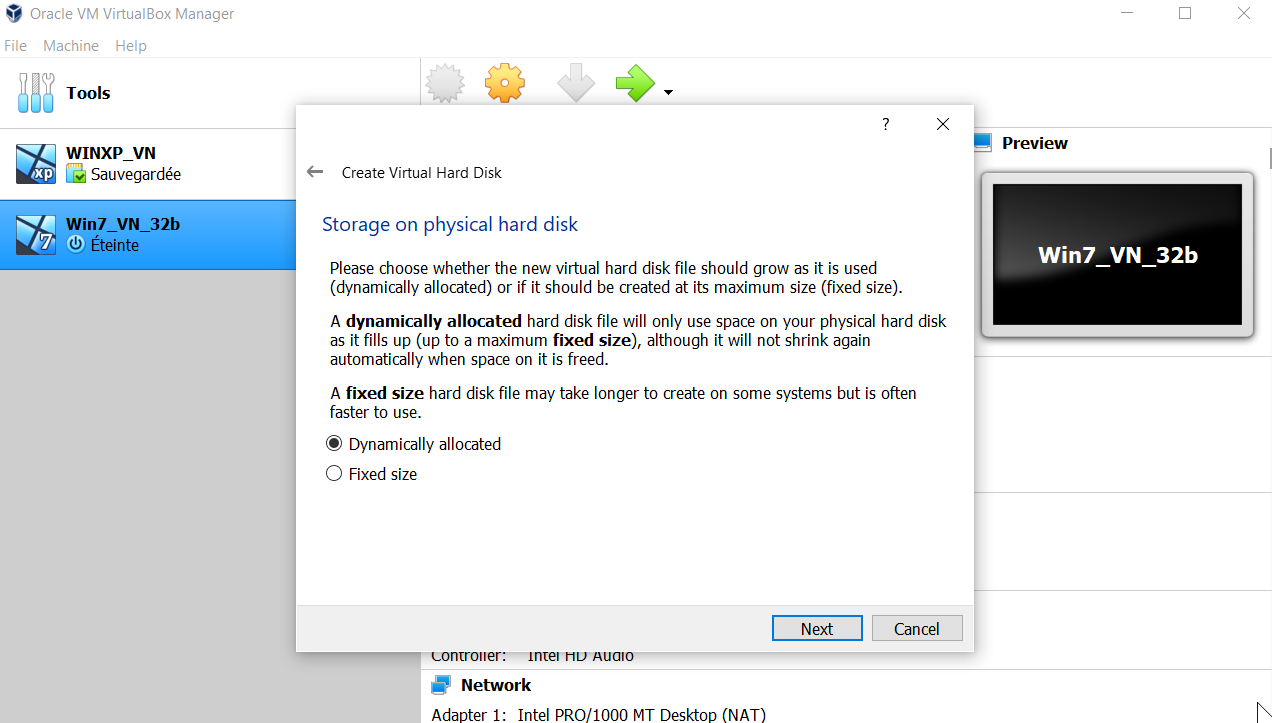
- For the setting storage on physical disk, I use Dynamically allocated
- Choose the disk space allocated to the VM, increate the size limit just in case (Windows update, size of games...)
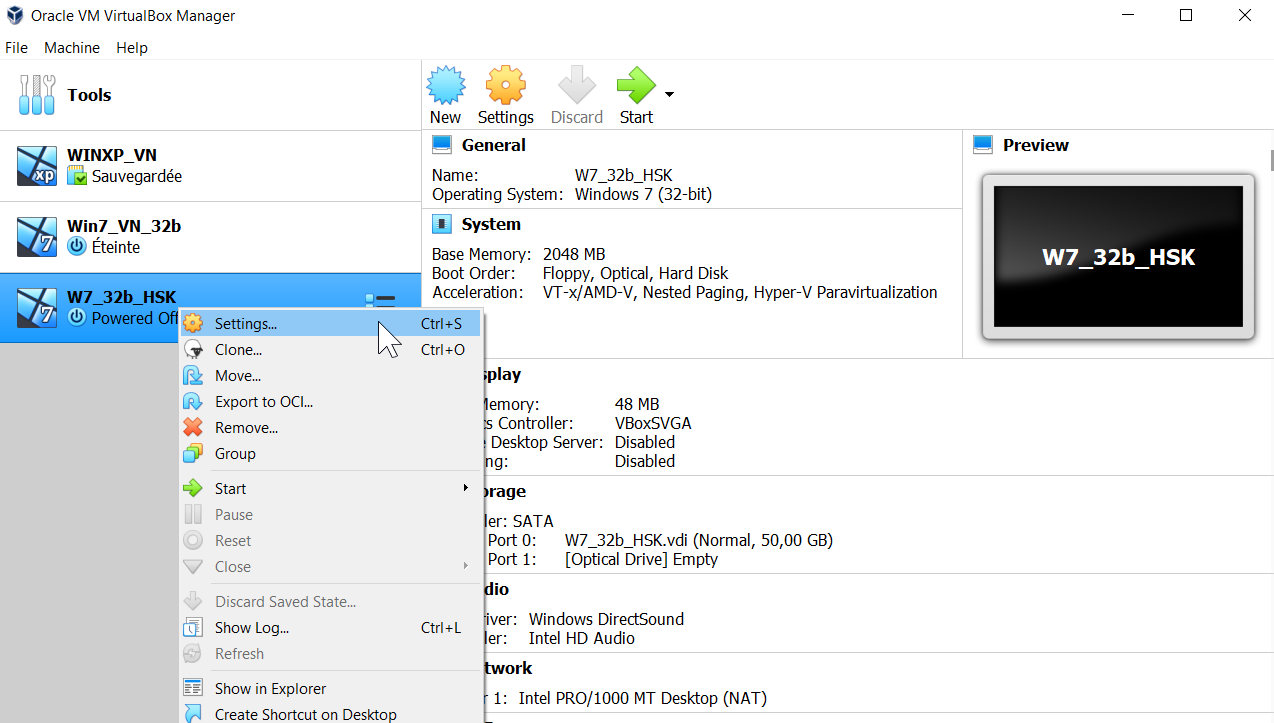
- Now, you will be able to see your machine in the list
- Right-click on it, select settings
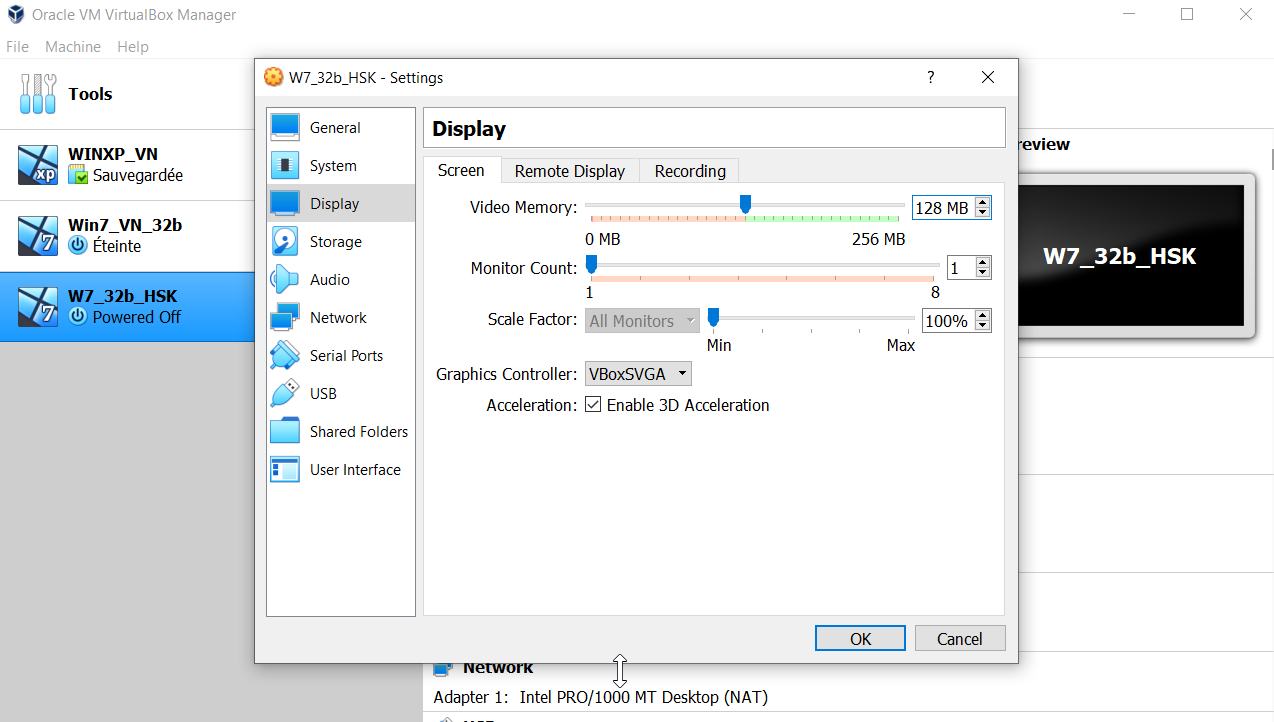
- On the display tab, check Enable 3D Acceleration and minimum 128 MB for the video display
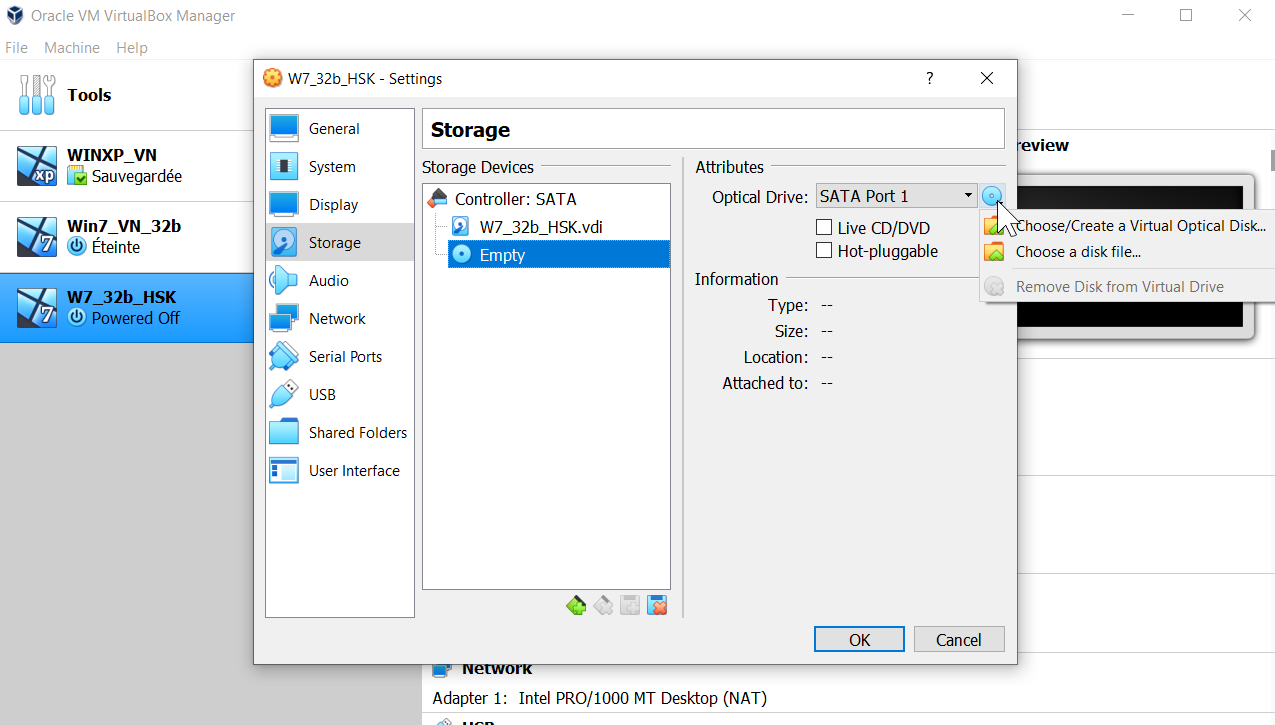
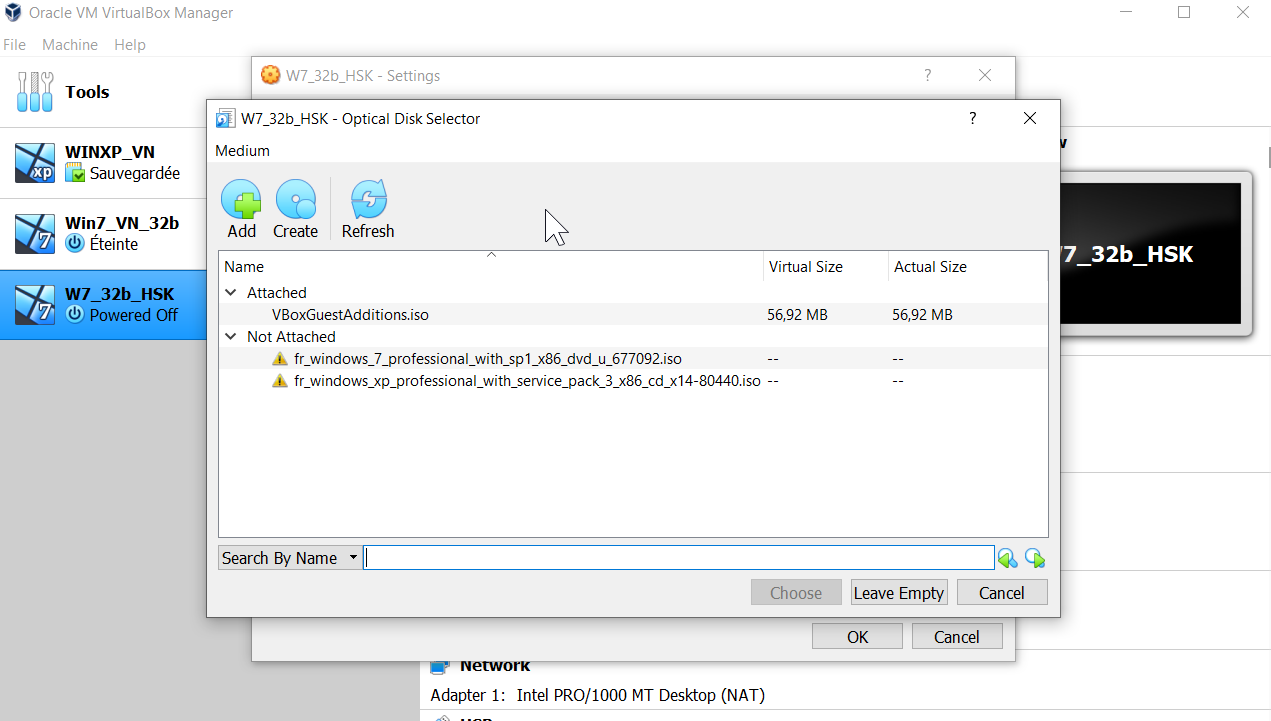
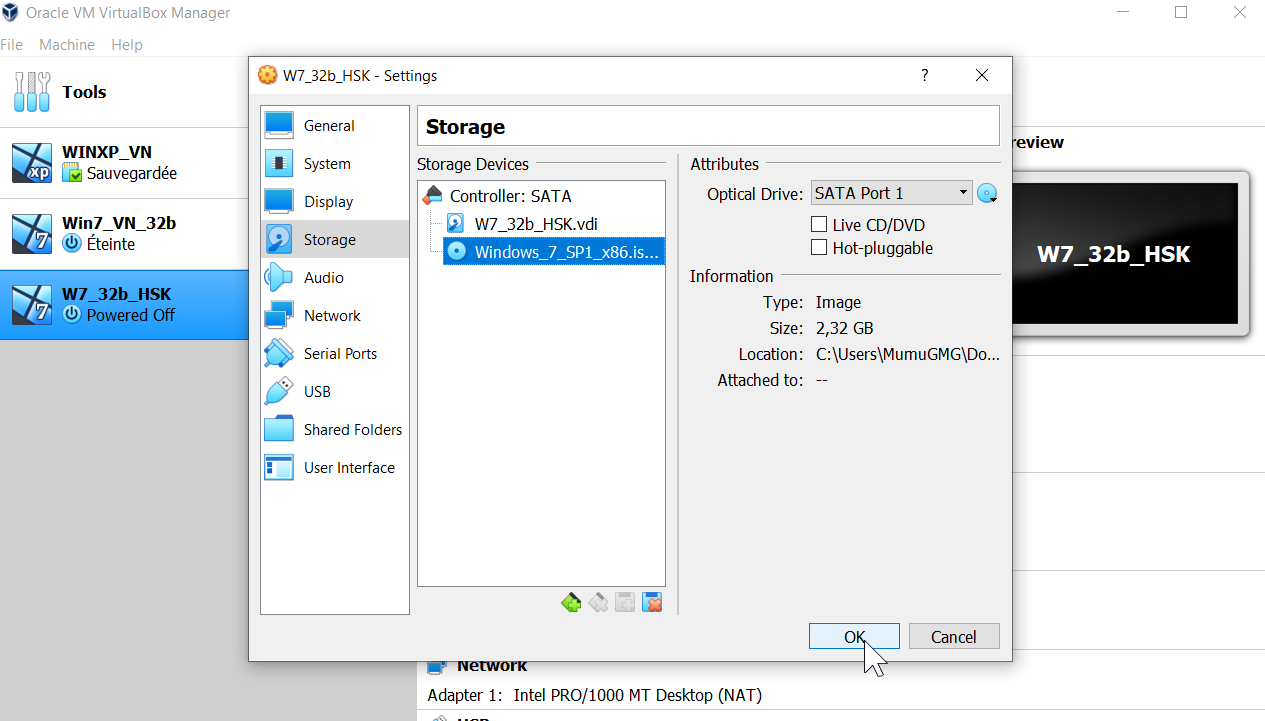
- On the storage tab, click on the disk empty then on the disc icon next to SATA Port1 > Choose a disk file
- Select the iso of the OS you want to install, apply
- It's time to start the machine, you will to follow the installation process of Windows


First steps
When you finally arrive on the Windows desktop, be sure to install Guest Additions to optimize the potential of the VM.
- Click on Devices button on top
- Insert Guest Additions CD Image...
- Run the setup from the disc
- Check the Direct3D Support
- Complete the setup, then restart

Before starting the virtual machine, you can set a shared folder from your regular Windows that will be used to see all the games you want to install.
- Right-click on your machine
- Click on the button Settings
- Shared folders tab > Click on the folder icon with a + on the right
- Select the folder of your choice
- Enable the option Auto-mount
- The folder will be available as a network drive on Windows Explorer
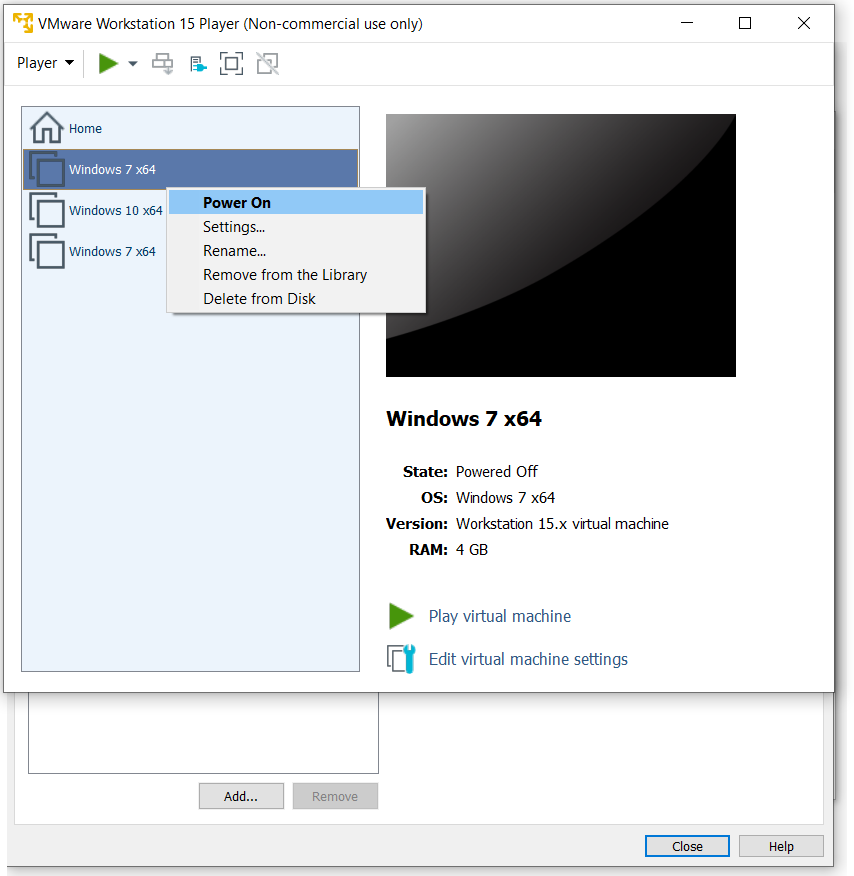
VMWare Workstation Player
Prerequisite
- Install the program and start it
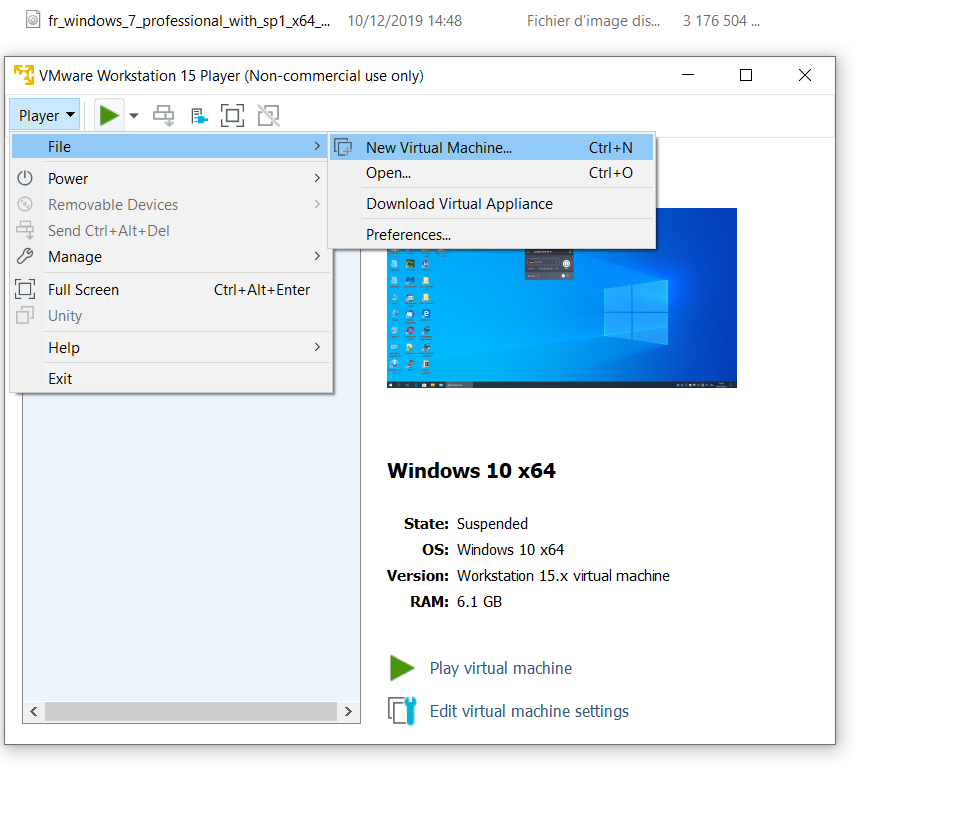
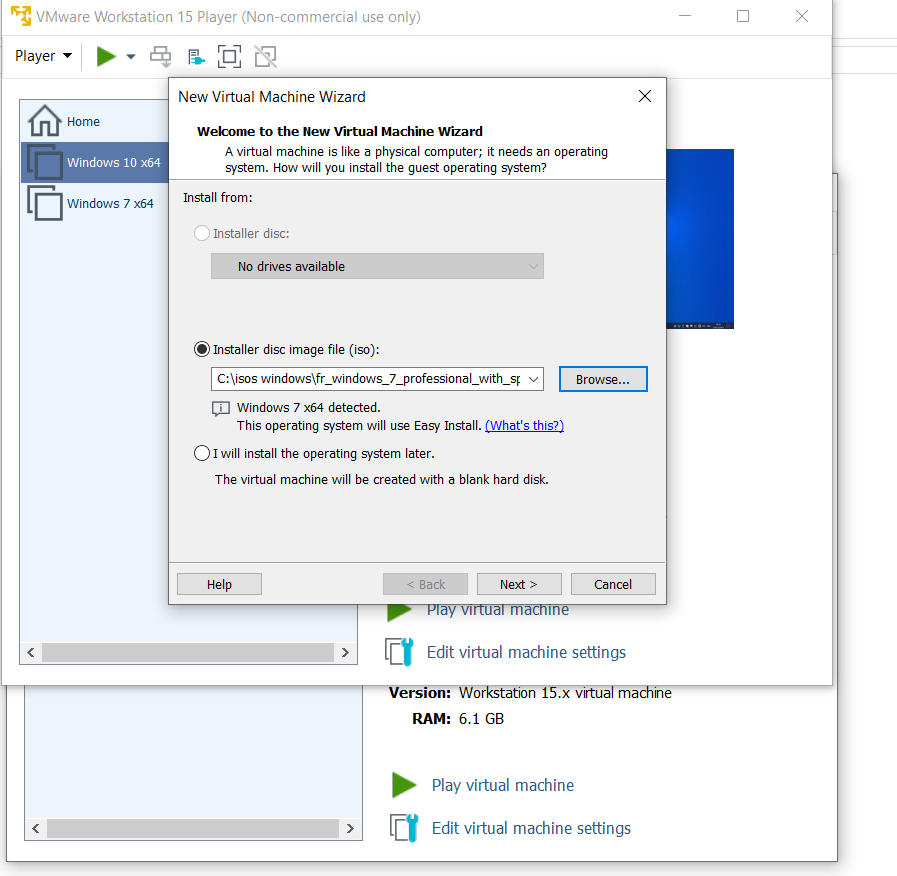
- Click on Player > File > New Virtual Machine
- Select the iso of the OS you want to install
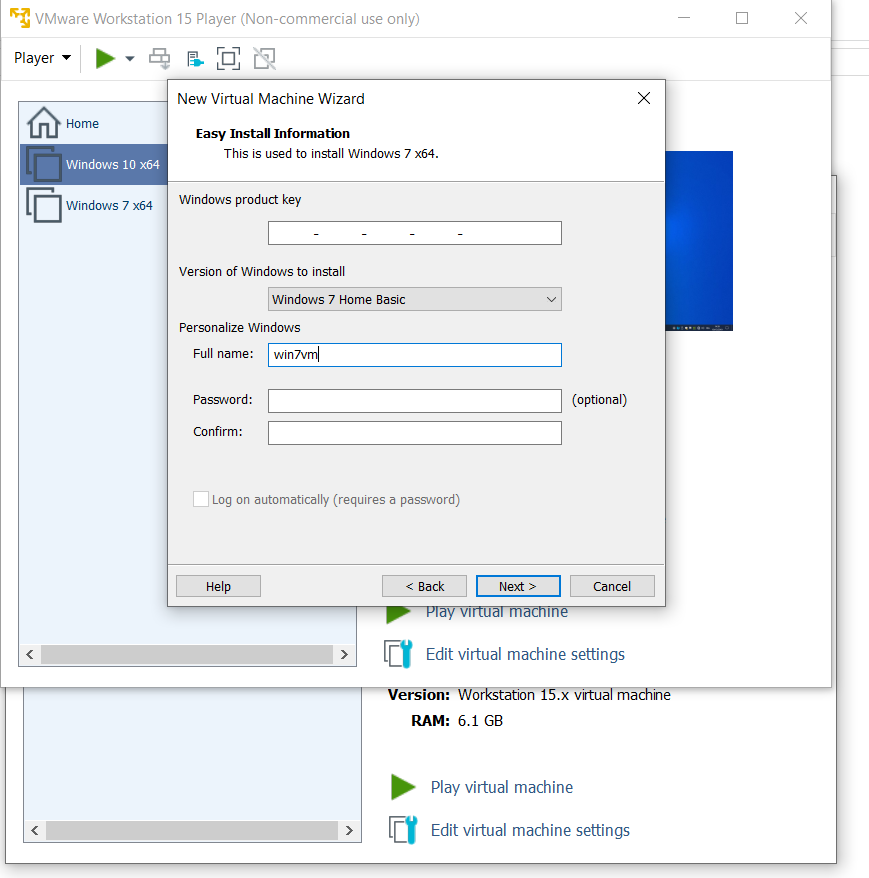
- If you don't have a serial key, leave the product key empty
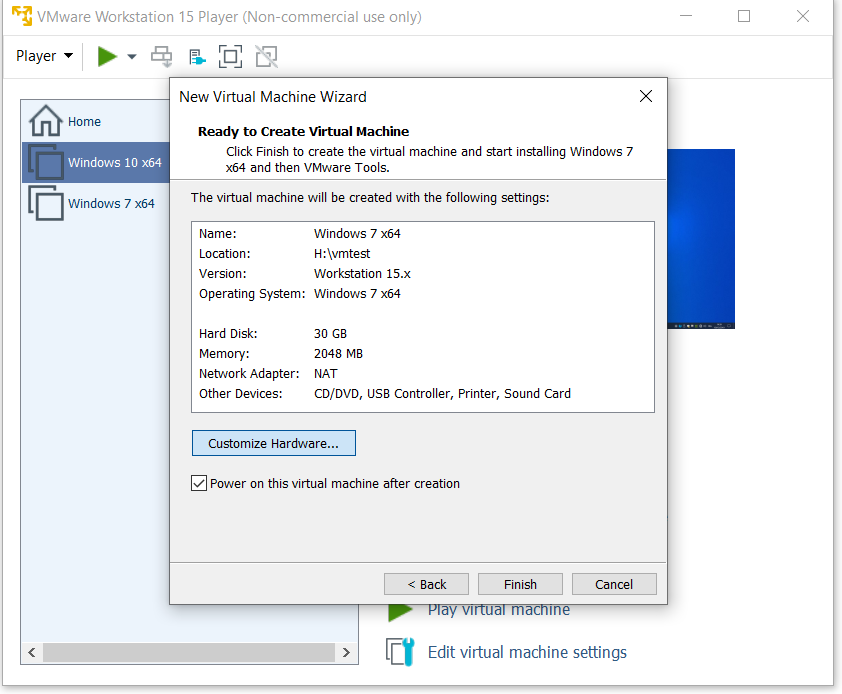
- Choose the disk size of your virtual machine. The recommend size should be enough, depending on what you want to install
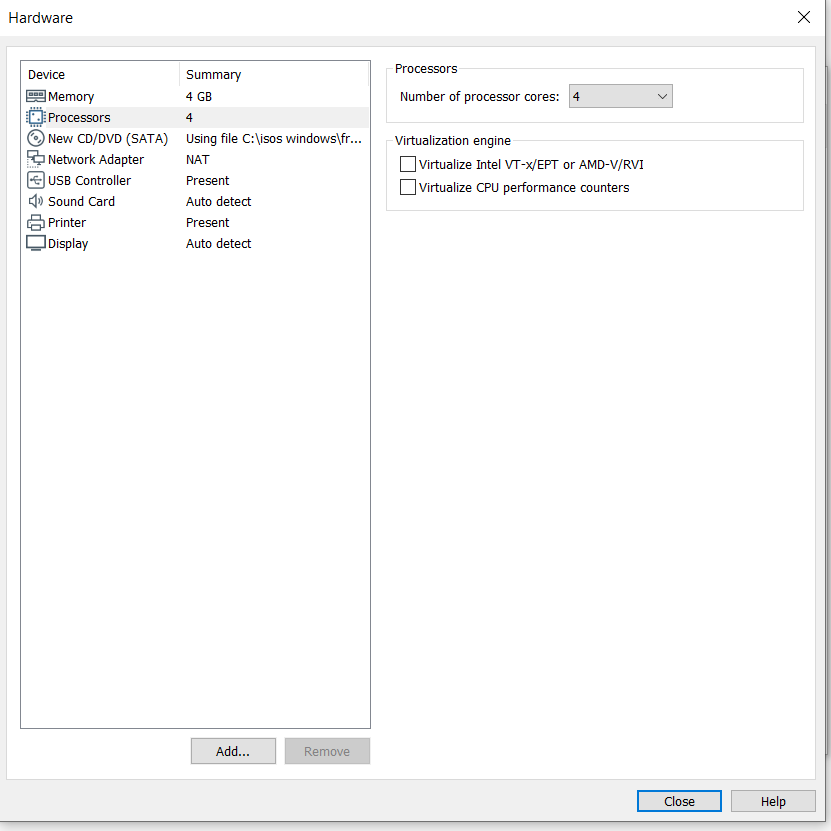
- Click on the button Customize Hardware
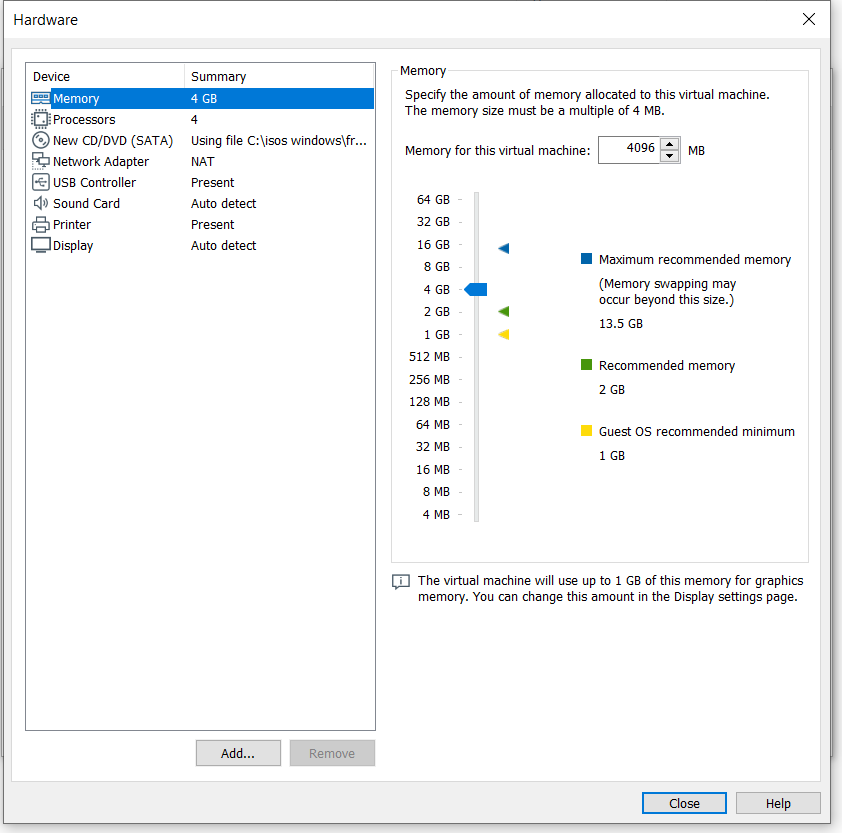
- Depending on your hardware, you can adjust the hardware of your VM
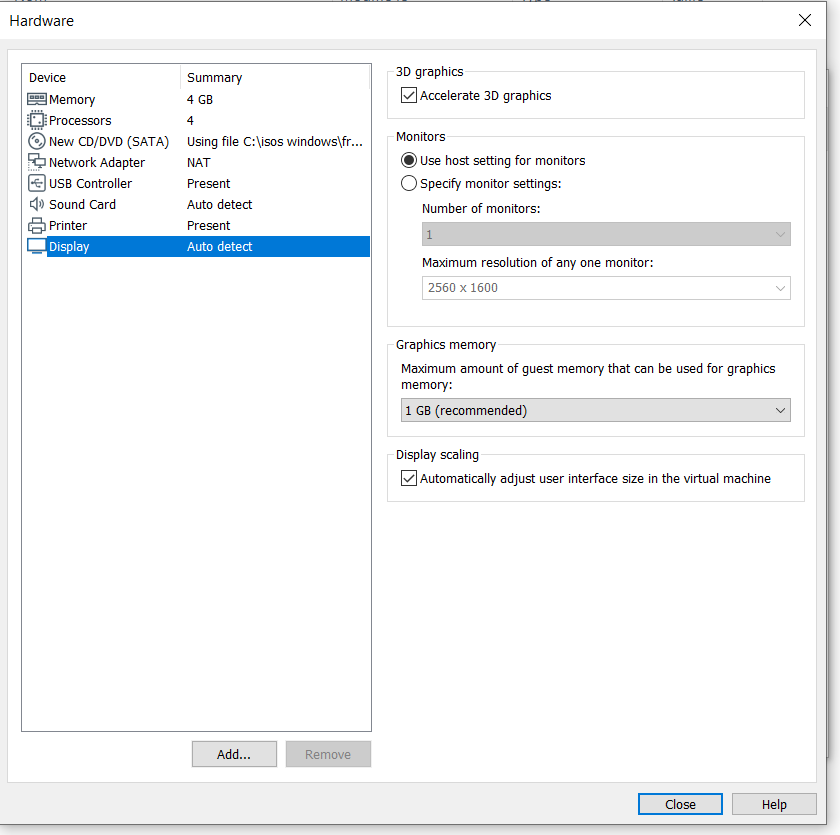
- In the Display settings, enable the option Accelerate 3D graphics
- In my case, I have a Ryzen 2700 CPU | 16 GB | Geforce 1080 and I use these VM settings: 4 CPU, 4 GB Memory and 1 GB GPU memory

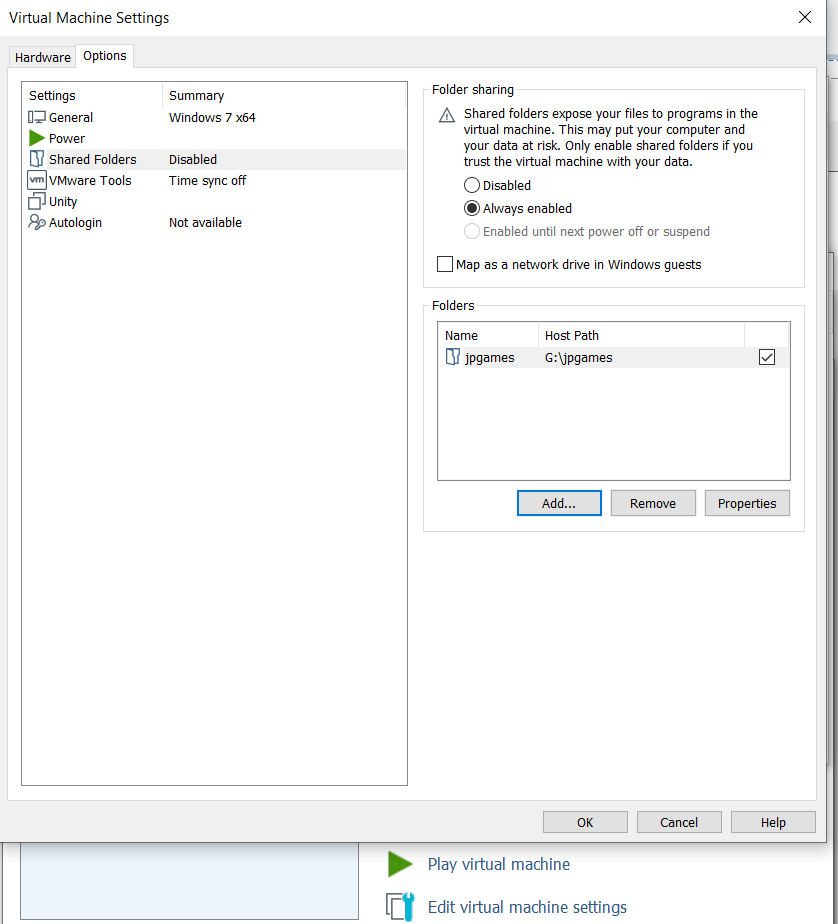
Before starting the VM, you can set a shared folder from your regular Windows that will be used to see all the games you want to install.
- Right-click on your machine
- Click on the button Settings
- Options tab
- Shared Folders option
- Enable the option Always enabled
- Click on the Add button
- Select the folder you want and apply
First steps
Now you can start the VM, it will install Windows first. When you finally arrive on the Windows desktop, be sure to install VMware tools to optimize the potential of the VM.
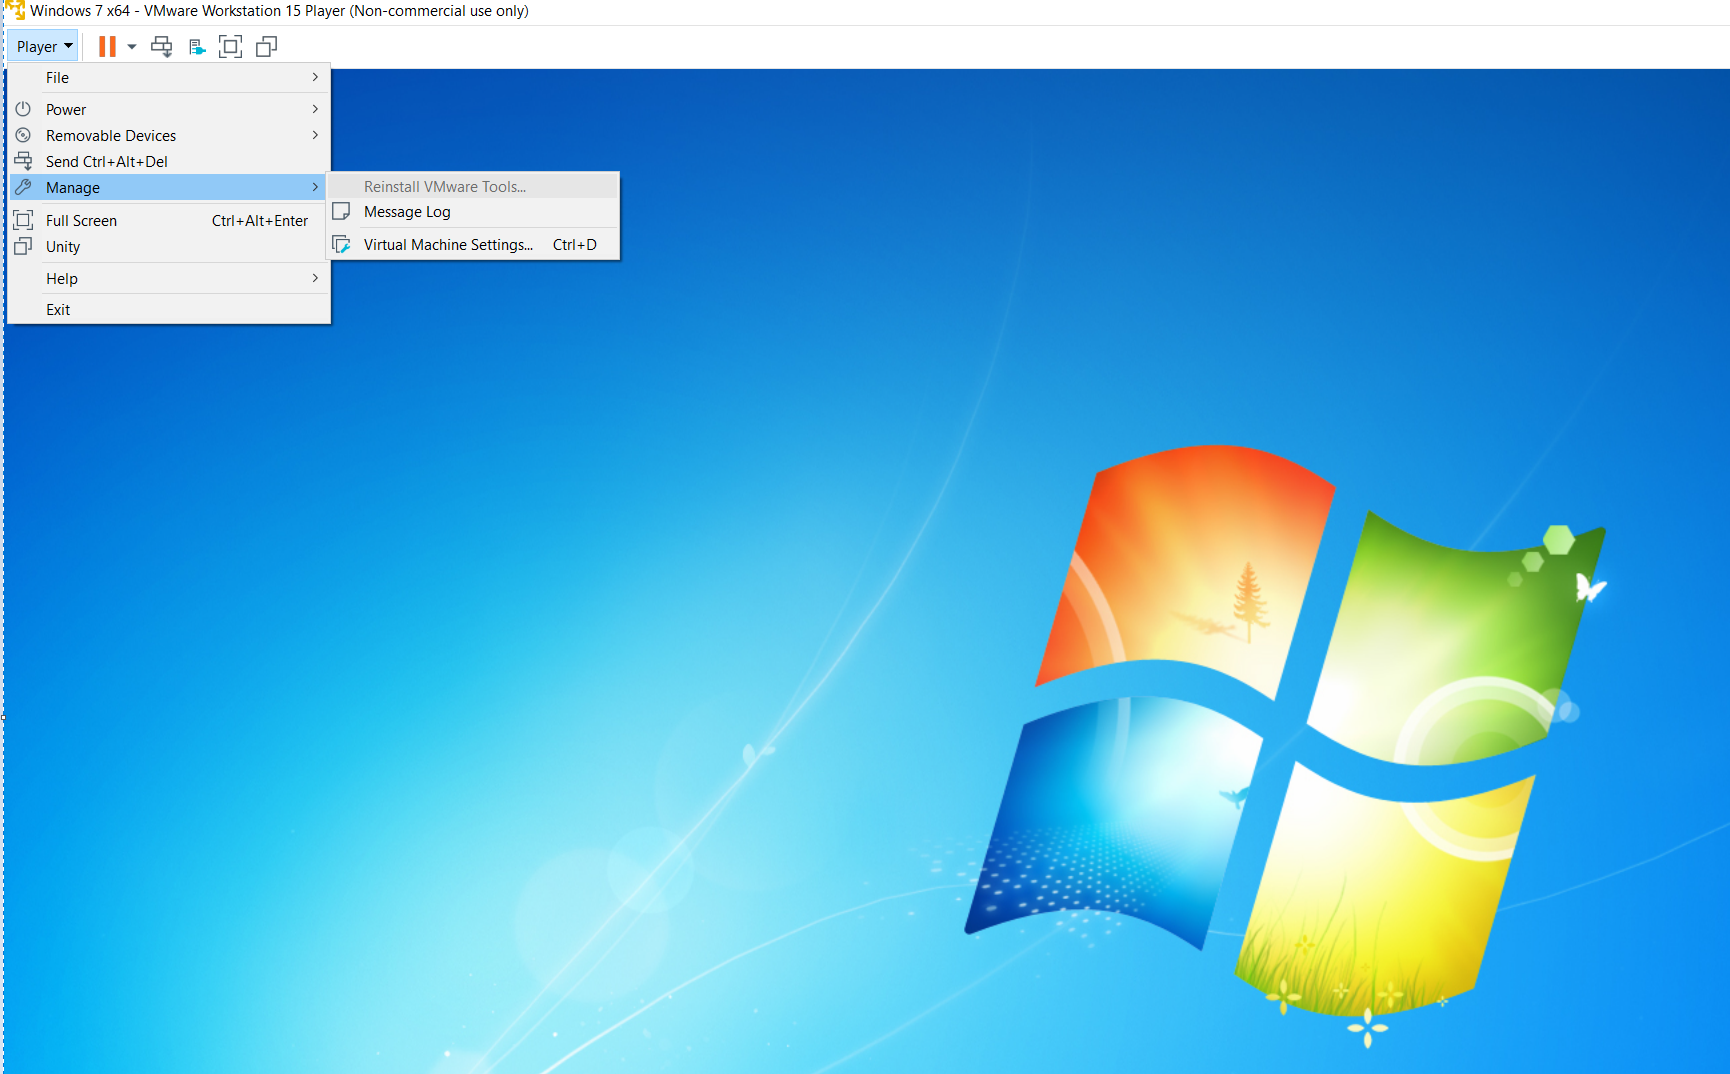
- Click on Player button
- Manage > Install VMware tools (if it says Reinstall VMware tools, you can skip this step)
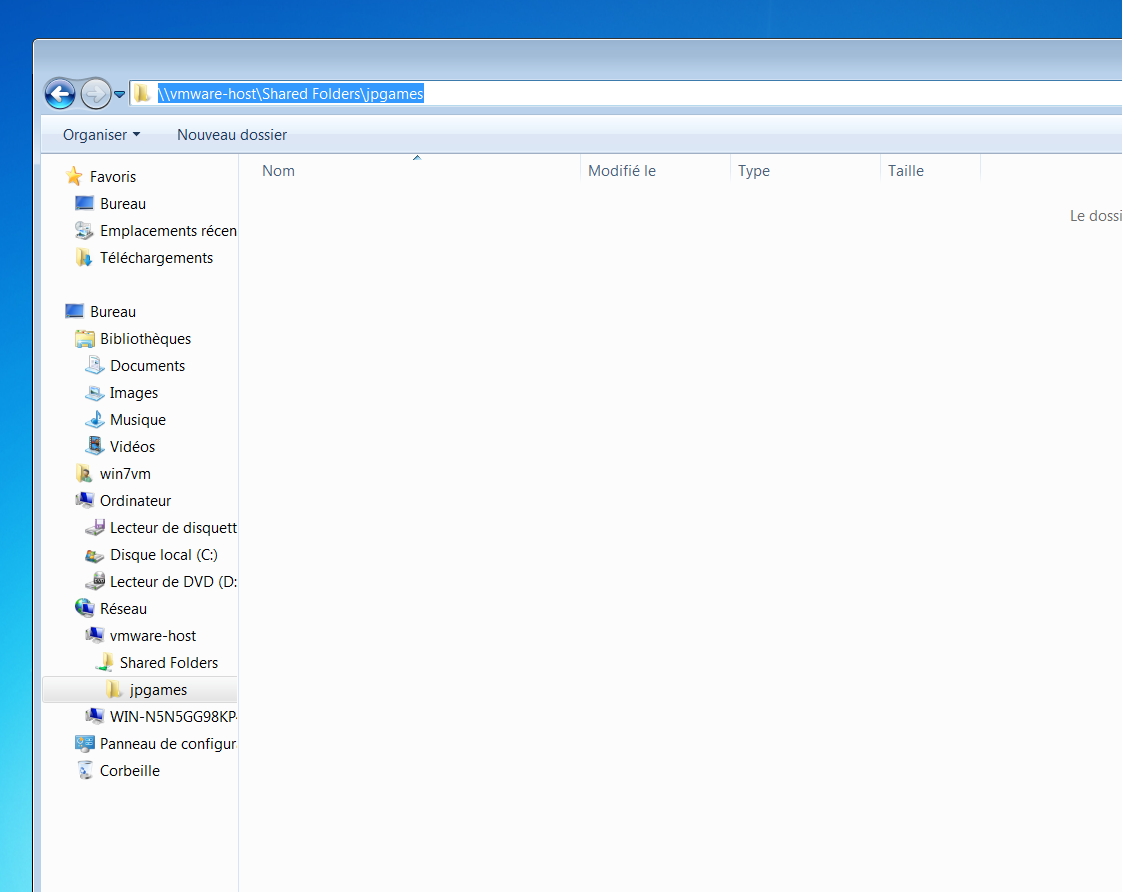
To have access to the shared folder you have created earlier:
- Open Windows Explorer
- Select Network on the left
- Open the folder Shared folders, it should display the folder you have shared